Hello, welcome to this part of my blog where I will collect a lot of example of use of tkinter. First of all I am now putting scripts into this github repository. At the moment there are few examples, but it will grow soon.
https://github.com/formazione/tkinter_tutorial.git
Tkinter : the module to create a GUI with tkinter
Tkinter is the buil in module for python to create a graphic user interface. Here you will find the snippets to create almost anything with tkinter. I am doing a work on progress here, so come to visit this page often in the next weeks, because it will become huge.
How to manage tkinter in seconds.
- How to make an input window with tkinter
- Labels
- How to merge many png files into one pdf
- add a menu
- trasform html into pdf
- a label with an Image
- Basic window with many widgets
- center the window in the screen of the pc
- A memo app with tkinter
How to make an input window with tkinter
If you do not want to use the console to get an input from the user in python, you can use tkinter for a minimal graphic user interface.
def tkinput(text) -> str:
	import tkinter as tk

	root = tk.Tk()
	question = tk.StringVar()
	tk.Label(root, text=text).pack()
	e = tk.Entry(root, textvariable=question)
	e.pack()
	e.focus()
	# question.set("prova")
	e.bind("<Return>", lambda event: root.destroy())
	root.mainloop()
	print(type(question.get()))
	return question.get()


if __name__ == '__main__':
	name = tkinput("What is your name?")
	print(f"{name=}")

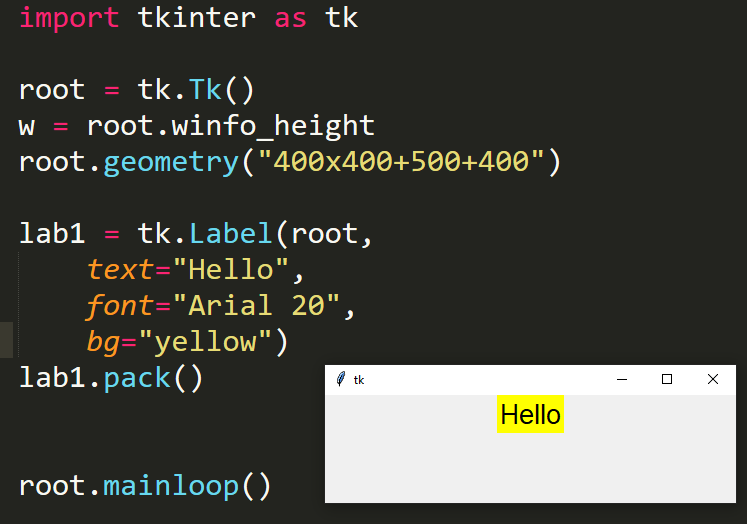
Labels
import tkinter as tk

root = tk.Tk()
w = root.winfo_height
root.geometry("400x400+500+400")

lab1 = tk.Label(root,
	text="Hello",
	font="Arial 20",
	bg="yellow")
lab1.pack()


root.mainloop()
How to merge many png files into one pdf
from fpdf import FPDF
from PIL import Image
import os
from glob import glob

# Gently offered by pythonprogramming.altervista.org
# @pythonprogrammi on twitter
# https://www.youtube.com/c/GiovanniPython on youtube
def makePdf():
    """" Takes filename and number of pages abd creates pdf """
    lst_files = sorted(glob("*.png"))
    # lst_files = os.listdir()
    print(lst_files)
    w = 800
    h = 600
    for f in lst_files:
        cover = Image.open(f)
        if cover.size[0] > w:
            w = cover.size[0]
        if cover.size[1] > h:
            h = cover.size[1]
    nomefile = input("Nomedelfile: ")
    pdf = FPDF(unit="pt", format=[w, h])
    for page in lst_files:
        pdf.add_page()
        pdf.image(page, 0, 0)
    pdf.output(nomefile + ".pdf", "F")
    os.startfile(nomefile + ".pdf")

makePdf()
Add a menu to the root
To create a menu:
- make an instance of the Menu() class
- use the add_command method to apply a menu with a label and a command as argument
- then attach the menu to the root with menu=istancename
Here is an example
menu = Menu()
men.add_command(label="Refresh", command=None)
root.configure(menu=menu)
The command is the link to a function (substitute now with the function triggered buy the click of the voice of the menu.
Transform html into pdf
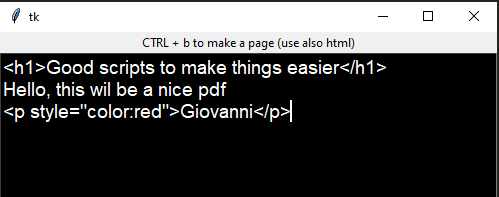
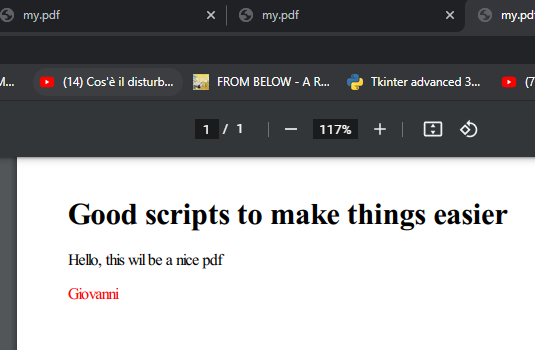
This is a GUI where you can write or copy and paste html to be transformed into pdf pressing ctrl+b. You can also use simple text to make a pdf. It is very easy and strightforward to use.
import tkinter as tk
import pdfkit
import os


def pdf(event):
    x = "my.pdf"
    content = txbx.get("0.0", tk.END)
    pdfkit.from_string(content, x)
    print("pdf created")
    os.startfile("my.pdf")


root = tk.Tk()
# WIDGETS: text box => Text class of tkinter (tk)
label = tk.Label(root, text="CTRL + b to make a page (use also html)")
label.pack()
txbx = tk.Text(root, height=20, insertbackground="white")
txbx['font'] = "Arial 14"
txbx['bg'] = "black"
txbx['fg'] = "white"
txbx['borderwidth'] = 2
txbx.pack(fill=tk.BOTH, expand=1)
txbx.focus()
txbx.bind("<Control-b>", pdf)

root.mainloop()
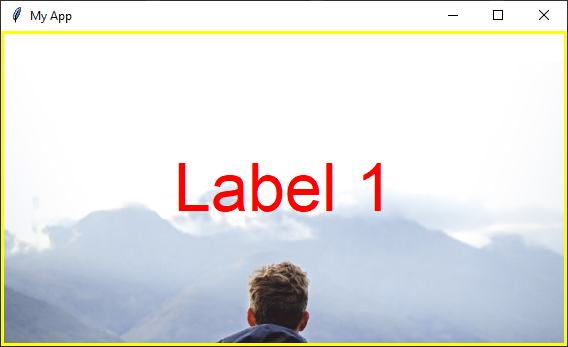
A label with an image
import tkinter as tk

root = tk.Tk()
root.title("My App")
img = tk.PhotoImage(file="001.png")
lab = tk.Label(
    root,
    compound="center",
    text="Label 1",
    font="arial 50",
    fg="red",
    # bg="yellow",
    image=img)
lab.pack(fill="both", expand=1)
lab["bg"] = "yellow"

root.mainloop()
The output (the text is overwritten, it is not part of the image)
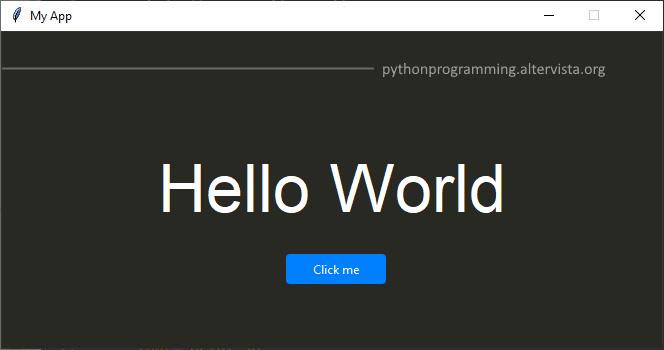
A dark theme for tkinter with a label and a button
I added a label with an image in it and then a button with the azure theme. In the image there is the text woth my blog. You will get this.
import tkinter as tk
import tkinter.ttk as ttk


def darkstyle():
    ''' Return a dark style '''
    style = ttk.Style(root)
    root.tk.call('source', 'azure dark/azure dark.tcl')
    style.theme_use('azure')
    style.configure("Accentbutton", foreground='white')
    style.configure("Togglebutton", foreground='white')
    return style


root = tk.Tk()
root.title("My App")
root.resizable(False, False)
img = tk.PhotoImage(file="001.png")

style = darkstyle()


lab = ttk.Label(
    root,
    text="Hello World",
    compound="center",
    font="arial 50",
    image=img)
lab.pack(fill="both", expand=1)


button = ttk.Button(
    root,
    text="Click me",
    style="Accentbutton"
    )

button.place(relx=0.43, rely=0.7, width=100, height=30)


root.mainloop()
Repository with the code and everything: https://github.com/formazione/tkinter_dark_theme
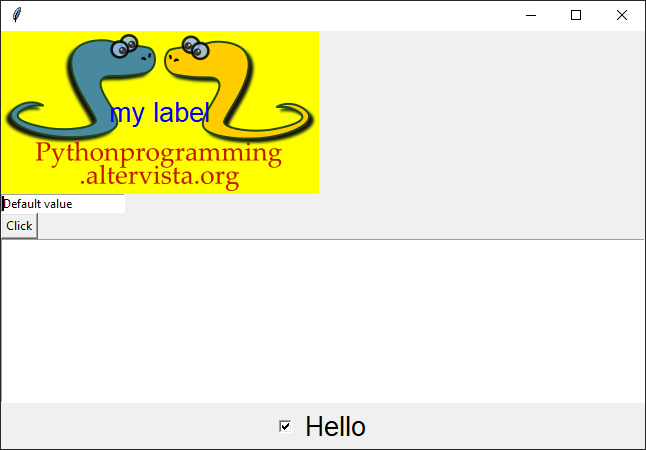
Basic window with many widgets (template 1)
#timer.py
import tkinter as tk


def ppr():
    print("click")


root = tk.Tk()
root.title("")
# root.geometry("400x400")

img = tk.PhotoImage(file="001.png")

lab = tk.Label(root, text="my label")
lab.grid(row=0, column=0, sticky="w")
lab.configure(
    bg="yellow", image=img,
    compound="center", fg="blue", font="arial 20")

evar = tk.StringVar()
entry = tk.Entry(root, textvariable=evar)
evar.set("Default value")
entry.grid(row=1, column=0, sticky="w")
entry.focus()


button = tk.Button(root, text="Click", command=ppr)
button.grid(row=2, column=0, sticky="w")

text = tk.Text(root, height=10)
text.grid(row=3, column=0, sticky="w")


def printme():
    print("hello")

def colors_check():
    root.update()
    root.update()
    c1h = c1.winfo_height()
    c2h = c2.winfo_height()
    on_image.put(("green",), to=(0, 0, 15, c1h))
    off_image.put(("white",), to=(0, 0, 20, c2h))


on_image = tk.PhotoImage()
off_image = tk.PhotoImage()
on_image = tk.PhotoImage()
off_image = tk.PhotoImage()
var1 = tk.IntVar(value=1)
c1 = tk.Checkbutton(
        root,
        compound="left",
        text="Hello",
        image=off_image,
        selectimage=on_image,
        indicatoron=True,
        onvalue=1,
        offvalue=0,
        variable=var1,
        font="arial 20",
        command=printme)
c1.grid(row=4, column=0)

root.mainloop()
This is what it looks like
A button that resizes according to the size of the window
How to put the window in the middle pc screen
This is how to center a window made with tkinter in the middle of the screen of the pc.
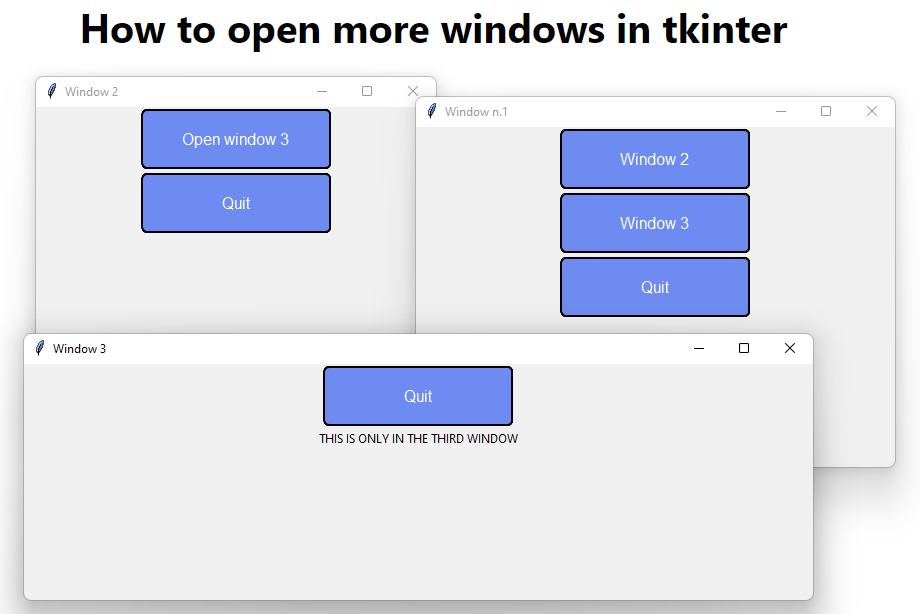
How to open more windows with tkinter
This is the last version of the code that you find in the repository with the image
https://github.com/formazione/tkinter_tutorial.git
This is the last post with this subject about opening more windows with tkinter.
How to open more windows in tkinter
 Subscribe to the newsletter for updates
 Tkinter templates
Twitter: @pythonprogrammi - python_pygame
Videos
Speech recognition gamePygame's Platform Game

Other Pygame's posts
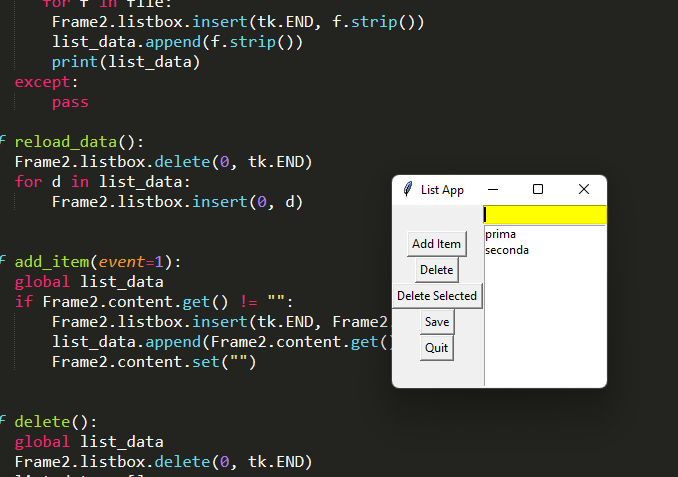
Memo app with tkinter
import tkinter as tk


def retrievedata():
    ''' get data stored '''
    global list_data
    list_data = []
    try:
      with open("save.txt", "r", encoding="utf-8") as file:
       for f in file:
        Frame2.listbox.insert(tk.END, f.strip())
        list_data.append(f.strip())
        print(list_data)
    except:
        pass

def reload_data():
    Frame2.listbox.delete(0, tk.END)
    for d in list_data:
        Frame2.listbox.insert(0, d)


def add_item(event=1):
    global list_data
    if Frame2.content.get() != "":
        Frame2.listbox.insert(tk.END, Frame2.content.get())
        list_data.append(Frame2.content.get())
        Frame2.content.set("")

def insert_item(event=1):

    global list_data
    if Frame2.content.get() != "":
        print(Frame2.listbox.curselection())
        pos = Frame2.listbox.curselection()[0] + 1
        Frame2.listbox.insert(pos, Frame2.content.get())
        if pos < len(list_data):
            list_data[pos] = Frame2.content.get()
        else:
            pass
        Frame2.content.set("")


def delete():
    global list_data
    Frame2.listbox.delete(0, tk.END)
    list_data = []


def delete_selected():

    try:
        selected = Frame2.listbox.get(Frame2.listbox.curselection())
        Frame2.listbox.delete(Frame2.listbox.curselection())
        list_data.pop(list_data.index(selected))
        Frame2.listbox.selection_set(0)
        print(Frame2.listbox.curselection())
    except:
        pass


def quit(destroy=1):
    if destroy:
        Window.root.destroy()
    else:
        with open("save.txt", "w", encoding="utf-8") as file:
            for d in list_data:
                file.write(d + "\n")

class Window:
    root = tk.Tk()
    root.title("List App")

class Frame1:
    frame1 = tk.Frame(Window.root)
    frame1.pack(side="left")

    # ADD ITEM
    button = tk.Button(frame1,
        text="Add Item",
        command=add_item)
    button.pack()

    button = tk.Button(frame1,
        text="Insert Item after",
        command=insert_item)
    button.pack()

    button_delete = tk.Button(frame1, text="Delete", command=delete)
    button_delete.pack()

    button_delete_selected = tk.Button(frame1, text="Delete Selected", command=delete_selected)
    button_delete_selected.pack()
    bquit = tk.Button(frame1, text="Save", command=lambda: quit(0))
    bquit.pack()

    bquit = tk.Button(frame1, text="Quit", command=quit)
    bquit.pack()

class Frame2:
    global list_data
    frame2 = tk.Frame(Window.root)
    frame2.pack(side="left", fill="both", expand=1)
    content = tk.StringVar()
    entry = tk.Entry(frame2, textvariable=content,
        bg="yellow")
    entry.pack(fill="both", expand=1)
    entry.focus()
    listbox = tk.Listbox(frame2)
    listbox.pack(fill="both", expand=1)
    entry.bind("<Return>", add_item)


retrievedata()
Window.root.mainloop()
Subscribe to the newsletter for updates
Tkinter templatesTwitter: @pythonprogrammi - python_pygame
Videos
Speech recognition gamePygame's Platform Game